How To Improve Thermal Insulation Panels Performance Of PU Sandwich Panel Production Machine?
Publication Date: Oct 12, 2026
Improve the thermal insulation performance of PU sandwich panels on your production line by tuning chemistry, lamination, curing, and inspection so every panel reaches its design R-value.
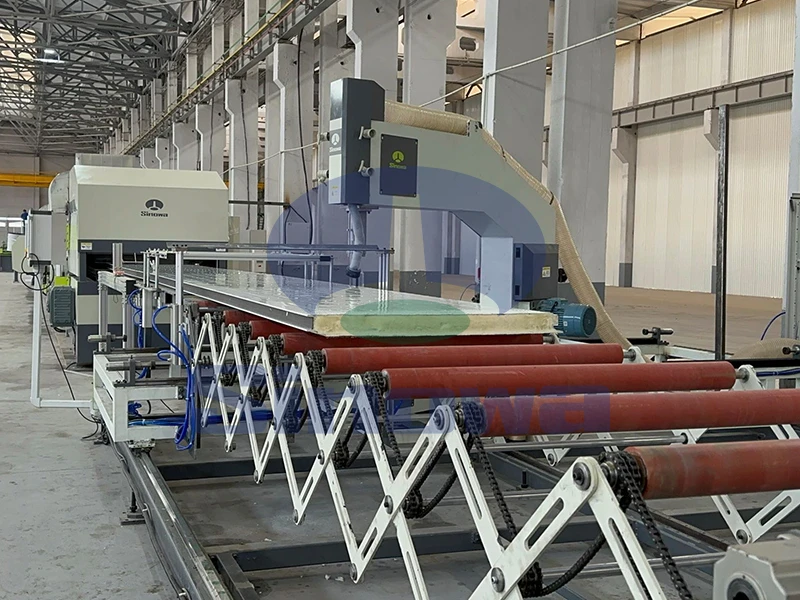
The foundation of a well-insulating polyurethane sandwich panel is the chemical reaction that fills the cavity, and small drift in that reaction shows up directly as heat loss on the finished board. The polyol blend, isocyanate index, blowing agent, catalyst package, and surfactant all interact to set cell size, cell openness, and closed-cell content, which are the main drivers of foam conductivity. When the index runs rich, the foam hardens but may burn through cells and raise k-factor; when it runs lean, the core softens and shrinks. Production teams should lock the mixing ratio by mass rather than by volume and verify it at the head after every material change, barrel swap, or long idle period. Blowing agent choice matters as much as ratio: agents with lower thermal conductivity stay in the cell longer and preserve insulation over years, but they require tighter temperature management because their solubility in the polyol changes with cold weather. A consistent, documented recipe that the line can reproduce shift after shift is worth more than chasing the single lowest lab k-number.
Chemical temperature control is the next lever, because PU reactions are highly sensitive to the temperature of every stream entering the mix head. Both polyol and isocyanate need to hold within a narrow band through the day, and that band is not the same as the ambient tank reading. Pumps, hoses, and the head itself add heat as they run, so a blend that started at the right temperature can arrive at the nozzle too warm by mid-shift, accelerating cream time, shrinking rise height, and producing uneven skin. Lines that improve insulation usually install closed-loop temperature control on the day tanks, insulate the entire loop, and put a sensor right at the recirculation return near the head rather than only at the tank outlet. Seasonal adjustments are equally important: a recipe tuned for summer plant air will under-react in winter and over-gel in summer, leaving either a weak core or scorched streaks that break the insulation layer. Checking component temperature with a contact gauge at the head, not at the control screen, is a simple habit that catches most drift before it reaches the laminator.
The mix head itself is where chemistry becomes foam, and its mechanical condition sets the upper bound on panel quality. A head with worn bearings, eroded nozzles, or dirty injector tips stops producing consistent droplets even when the pumps are perfect, and the result is streaky, coarse cells that insulate poorly along stripes running the length of the panel. Improving thermal performance means treating the head as a precision instrument: scheduled flush cycles with the correct solvent, regular inspection of tip wear under magnification, correct air purge after each shot, and replacement of seals on a fixed hour-based schedule rather than waiting for leaks. The shot profile — how fast the metering pumps ramp up, plateau, and ramp down — also deserves attention. A sudden start leaves a heavy bead at the beginning of each pour, and a hard stop leaves a dribble at the end, both of which create weak zones in the core. Tuning the ramp and decel so the bead weight is constant across the entire width of the face sheet produces a more even density and, with it, more even insulation.
Temperature and speed of the laminating line work together to determine how the foam rises between two moving metal facings. The bottom mold or conveyor and the top press belt need to hold a surface temperature that matches the reaction window: too cold and the skin next to the facing stays weak, allowing moisture and heat migration; too hot and the foam skins prematurely before it can fill the corners, leaving voids that act as thermal bridges. Web speed must also match the pour rate so that the foam reaches its gel point exactly at the point where the laminate is pinched, not before and not after. When the line is sped up without adjusting the pour, the core density drops in the center and the edges stay dense, creating a panel that looks flat but insulates unevenly. Operators who track line speed against pour rate against panel thickness on a simple running log usually find that the best insulation comes from a narrower speed window than the machine was nominally designed for, and that running slightly slower and richer in pour is cheaper than throwing away under-filled panels.
The face sheets, whether pre-painted steel, aluminum, or other substrates, are not neutral carriers — they actively change how the foam bonds and how the panel conducts heat. A dirty, oily, or oxidized facing prevents the polyurethane from wetting the surface, leaving a microscopic gap that fills with air and acts as an insulation weak line along the bond. Surface preparation on the line, usually a solvent wipe or a flame treatment combined with a light corona or plasma pass, is what closes that gap. The primer or back-coat on the steel also matters: facings with too much release agent or a low-surface-energy film will bond weakly even when the chemistry is right. Improving insulation performance often starts not in the foam room but at the uncoiler, by inspecting coil cleanliness, controlling storage humidity, and making sure that the facing enters the laminator at a temperature the foam likes. A clean, well-bonded facing also stops lateral moisture creep, which over years degrades the insulation value from the edges inward.
Edge and side-zone control is where many production lines quietly lose performance, because the visible center of the panel is usually fine while the edges under-perform. At the sides of the mold, foam meets side dams or edge guides that are colder and rougher than the center, so cells collapse there, density spikes, and the edge band becomes a thermal bridge that runs the length of the building wall. Tuning means heating the side dams to match the belt, using smooth, release-coated dam surfaces, and adjusting the pour pattern so that slightly more material lands near the edges than in the center. The cut-off zone at the end of each panel also needs attention: the first few centimeters of every pour contain mixed-up chemistry from the head flush, and if that material is not trimmed away before the panel is used, it forms a weak, open edge that absorbs moisture. Simple discipline — fixed trim allowance, inspected dams, and a pour pattern biased to the edges — removes most edge thermal loss without changing the foam recipe at all.
Density distribution across the panel thickness is another hidden performance lever. A sandwich panel that reads the right average density on the spec sheet can still insulate poorly if the density is concentrated against the two facings while the center is under-foamed, because the low-density center becomes the easiest path for heat. Conversely, a hard, dense skin several millimeters thick against the facing wastes material and does not improve insulation, since conduction through denser polyurethane is slightly higher. What actually performs well is a gradual density fall from the facing into a consistent, fine-cell core. Achieving this depends on the nip pressure at the laminator, the belt temperature profile, and the free-rise time before the foam is pinched. Lines that measure a few cut panels per shift through the thickness and plot density will usually find that a softer nip, a longer free-rise section, or a slightly cooler first belt zone moves the density curve into the ideal band and lifts overall insulation without adding foam.
Pressure control during lamination is the step that turns a free-rise pour into a panel with the correct thickness and bond. Too little pressure and the two facings float apart, giving a thicker but looser core with open cells and poor insulation; too much pressure and the foam is squeezed toward the edges, leaving starved, thin zones near the centerline and crushing the skin against the facing. The laminator should hold the panel at its design thickness through the entire gel window, not just at the pinch point, and the upper belt should track the lower one with even, non-point loading. Inspectors should watch for panel springs back after release: if a panel leaves the line thinner than the belt setting once it cools, the foam was not allowed to build full rise pressure, and the insulation is lower than expected. Small adjustments to nip gap, belt parallelism, and hold-down length consistently improve both dimensional stability and thermal performance, because a panel that stays flat also keeps its closed-cell structure intact over time.
Post-cure handling often gets less attention than it deserves, but it determines whether the panel retains the insulation it was born with. Freshly demolded panels are still reacting, and the exotherm inside the core can reach temperatures that scorch the foam if the stack is too tight or too high. Stacking panels while they are hot traps heat, creates uneven shrinkage, and leaves internal stresses that later bow the panel and break the bond line. Good practice allows each panel to cool and condition on an open rack before stacking, keeps the stacking area at a stable room temperature, and avoids leaning panels against cold walls right after demolding. Trimming, cutting, and routing should also happen after the panel has fully conditioned, because cutting a hot core opens cells at the cut edge and lets moisture migrate in. Teams that build a short conditioning queue — even just a few hours between demold and packaging — routinely see fewer claims and better measured k-values on boards that come back from the field after a heating season.
Finally, thermal performance is only sustainable if the line measures it and feeds the result back into the process. Sending a couple of cut panels per shift to a heat-flow meter or guarded hot plate station, tracking edge bond strength, and logging core density at top, middle, and bottom turns guesswork into a control loop. When the measured k drifts upward, the operator can trace whether it was temperature at the head, facing cleanliness, blend ratio, or belt speed before the whole shift is lost. Over weeks, that data reveals which products, which coil batches, and which seasons actually drive performance, and where a small capital change — a better injector, a closer temperature loop, a longer cooling rack — pays for itself. Improving PU sandwich panel insulation is rarely one big upgrade; it is the accumulation of disciplined checks on chemistry, temperature, lamination, curing, and measurement, repeated every shift, that keeps every panel close to the performance it was designed to deliver.
Gallery of PU Sandwich Panel Production Machine
Tags: pu sandwich panel production machine, pu sandwich panel production machine manufacturer, pu sandwich panel production machine supplier, china pu sandwich panel production machine, pu sandwich panel production machine for sale
-
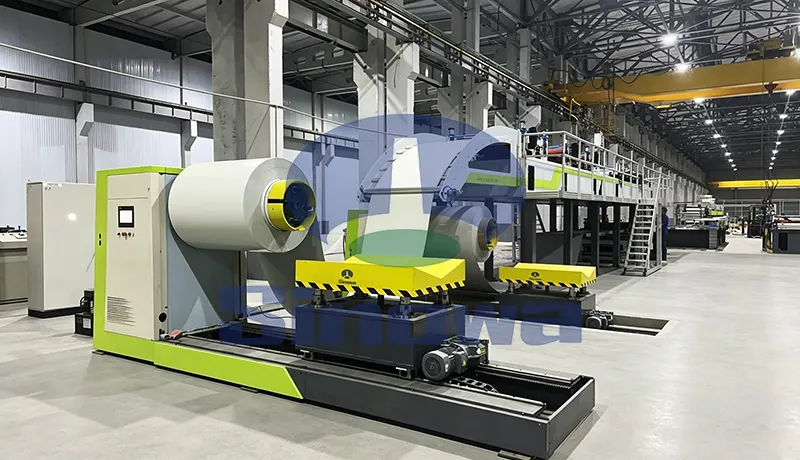
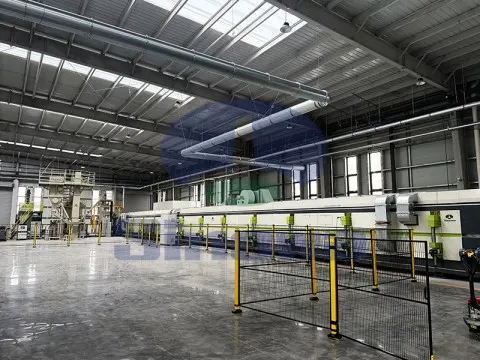
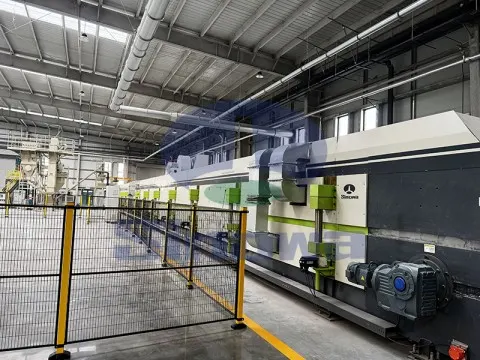
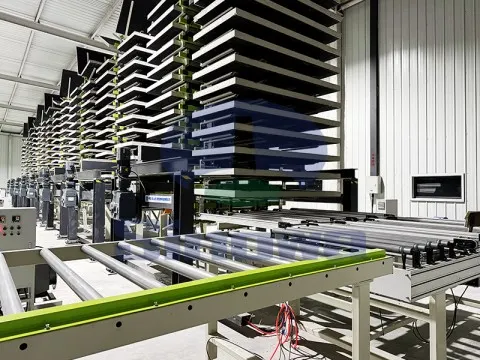
The PU sandwich panel line is a core production setup for making high-performance building insulation panels. This professional PU sandwich panel production line features automated operation to streamline the whole manufacturing process efficiently. Every component of the polyurethane sandwich panel line is precisely calibrated to ensure consistent panel thickness and structural stability. A well-maintained polyurethane sandwich panel production line can greatly boost production efficiency while reducing manual operation errors. The continuous PU sandwich panel line adapts to diverse production demands for different panel sizes and surface styles. With advanced molding technology, the PIR sandwich panel line produces panels with excellent heat preservation and sound insulation properties. Stable running of the PIR sandwich panel production line guarantees reliable product quality for various construction and industrial application scenarios.
-
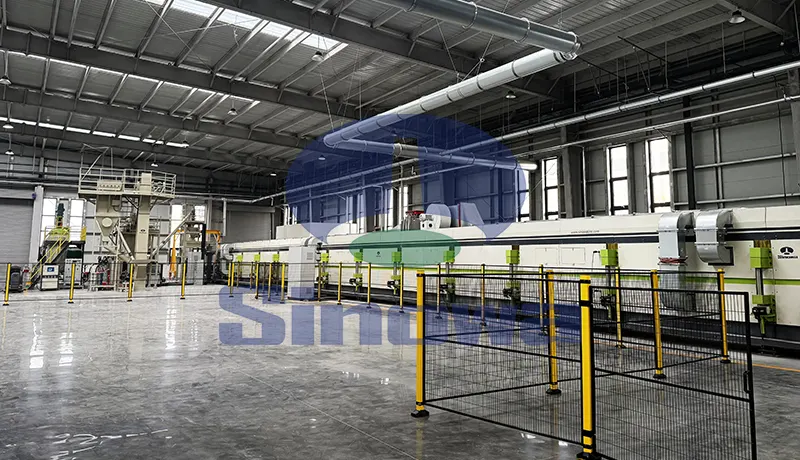
A phenolic insulation board production line serves as the core equipment for manufacturing high-performance thermal insulation building materials. This phenolic insulation panel production line integrates material mixing, foaming, molding and cutting processes to ensure continuous and stable production efficiency. Every operational link of the insulation board production line is precisely calibrated to produce uniform and durable insulation boards. The automated design of the insulation panel production line effectively reduces manual intervention and improves product consistency. Proper maintenance of the phenolic board production line can greatly extend its service life and maintain steady production output. With optimized structural design, the phenolic panel production line adapts to various production demands and delivers high-quality finished products for thermal insulation engineering applications.
-
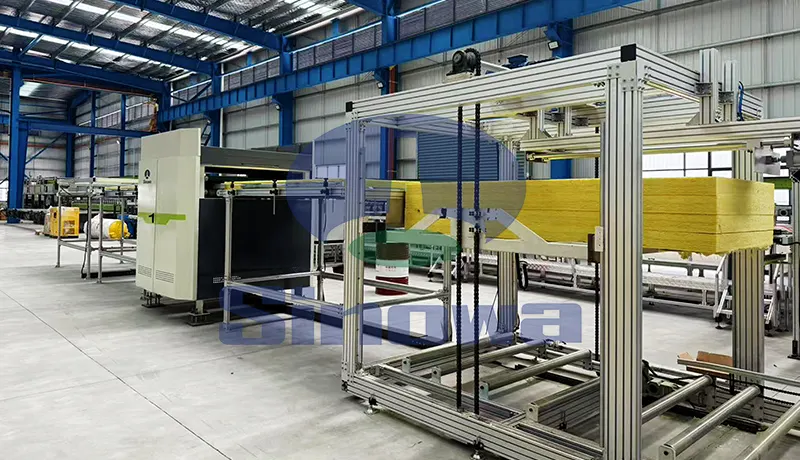
A professional rockwool sandwich panel line serves as the core equipment for producing high-performance building panels. This rockwool sandwich panel production line integrates feeding, laminating and forming processes to ensure stable and efficient production. The well-structured rock wool sandwich panel line can process raw rockwool materials into panels with excellent thermal and sound insulation properties. Operators can adjust the running parameters of the rock wool sandwich panel production line to manufacture panels of different thicknesses and specifications. The automated design of the mineral wool sandwich panel production line greatly reduces manual operation errors and improves product consistency. Regular maintenance of the mineral wool sandwich panel line is essential to sustain long-term operational efficiency and guarantee qualified finished panels for diverse construction applications.